Inserting Photos in Lockets
There are many different sorts of lockets with many different ways to insert photos. This article looks at a few of the most popular ways.
Care should always be taken when opening lockets. Opening them flat, or bending them back too far may result in damage to the delicate hinges or clasps.
Lockets with Glass or Perspex Covers


Lockets with Metal Lift-Out Frames
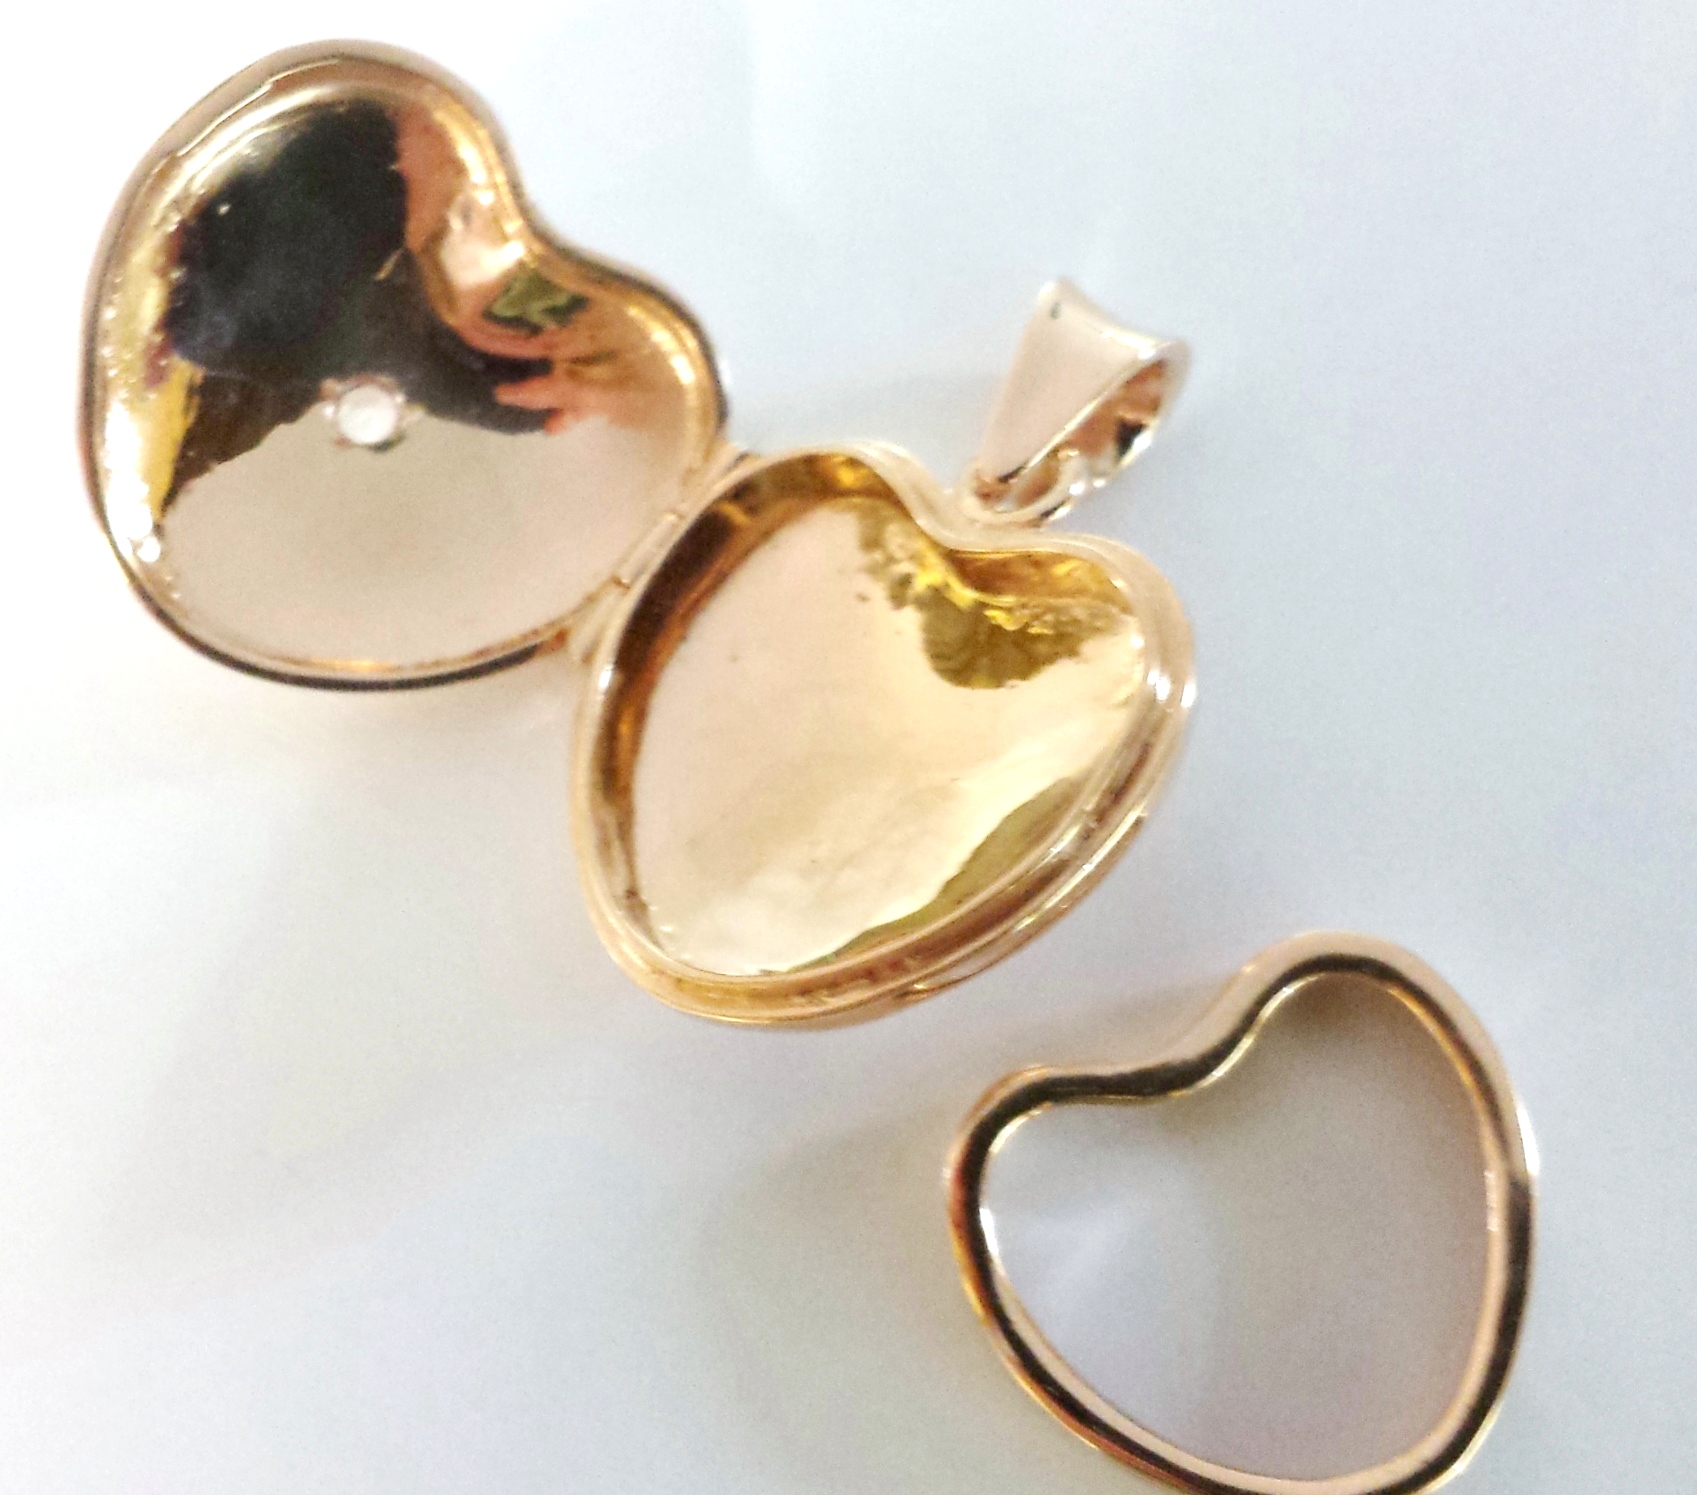
 Some lockets are made with an additional metal frame that lifts out and then clicks back in over the top of the photo. To insert photos into these lockets, lift out the frame and use it as a template to trace around the photo you want to use. Cut out the photo, position it inside the locket and then clip the metal frame back in place.
Lockets without Frames or Covers
 Some lockets, including the photo balls below, don't have frames or perspex and the photo is simply stuck into place. Use the closed locket to create a template for the photo you want to use. You will need to cut the photo a fraction smaller to fit inside the locket. Paper glue sticks will work very well, although if you ever want to remove the photo you may need to work it off with water. If you want to remove the photos at a later stage without damaging them, using blue tac or sticky dots works well too.
Photo Ball and Memory Ball Lockets


